Written by: Janet Rupert
Collaborating on a creative project is a process that we value and study in the Creative Communities Lab, but also something we love to do as a team. Last week, we started our first free-form arts and crafts team project: a sign with our lab name to display in our lab space!
With this goal in mind, but no pre-planning or assumptions on how to go about making it, three of our lab members, myself, Junnan, and Mariana, gathered one afternoon to brainstorm, experiment, and build together. We decided everything on the fly, as a group, and jumped between planning and tinkering quite often as the sign evolved and took shape.
First, we discussed where the sign would go. Would we hang it from the wall? The back of the shelves where we store our materials? The emergency sprinkler system in the lab? We decided that it would be most visible hanging from the dropped ceiling.
Next, we discussed the lettering. Making individual letters to hang in such a way that they are evenly spaced seemed challenging, so we decided to affix our letters to a cardboard background. We picked through various pieces of cardboard lying around the space until we found a collapsed, long, rectangular box that seemed like a decent size. The sides of the box seemed perfect, so we decided to spell out a word on each and hang one from the other.
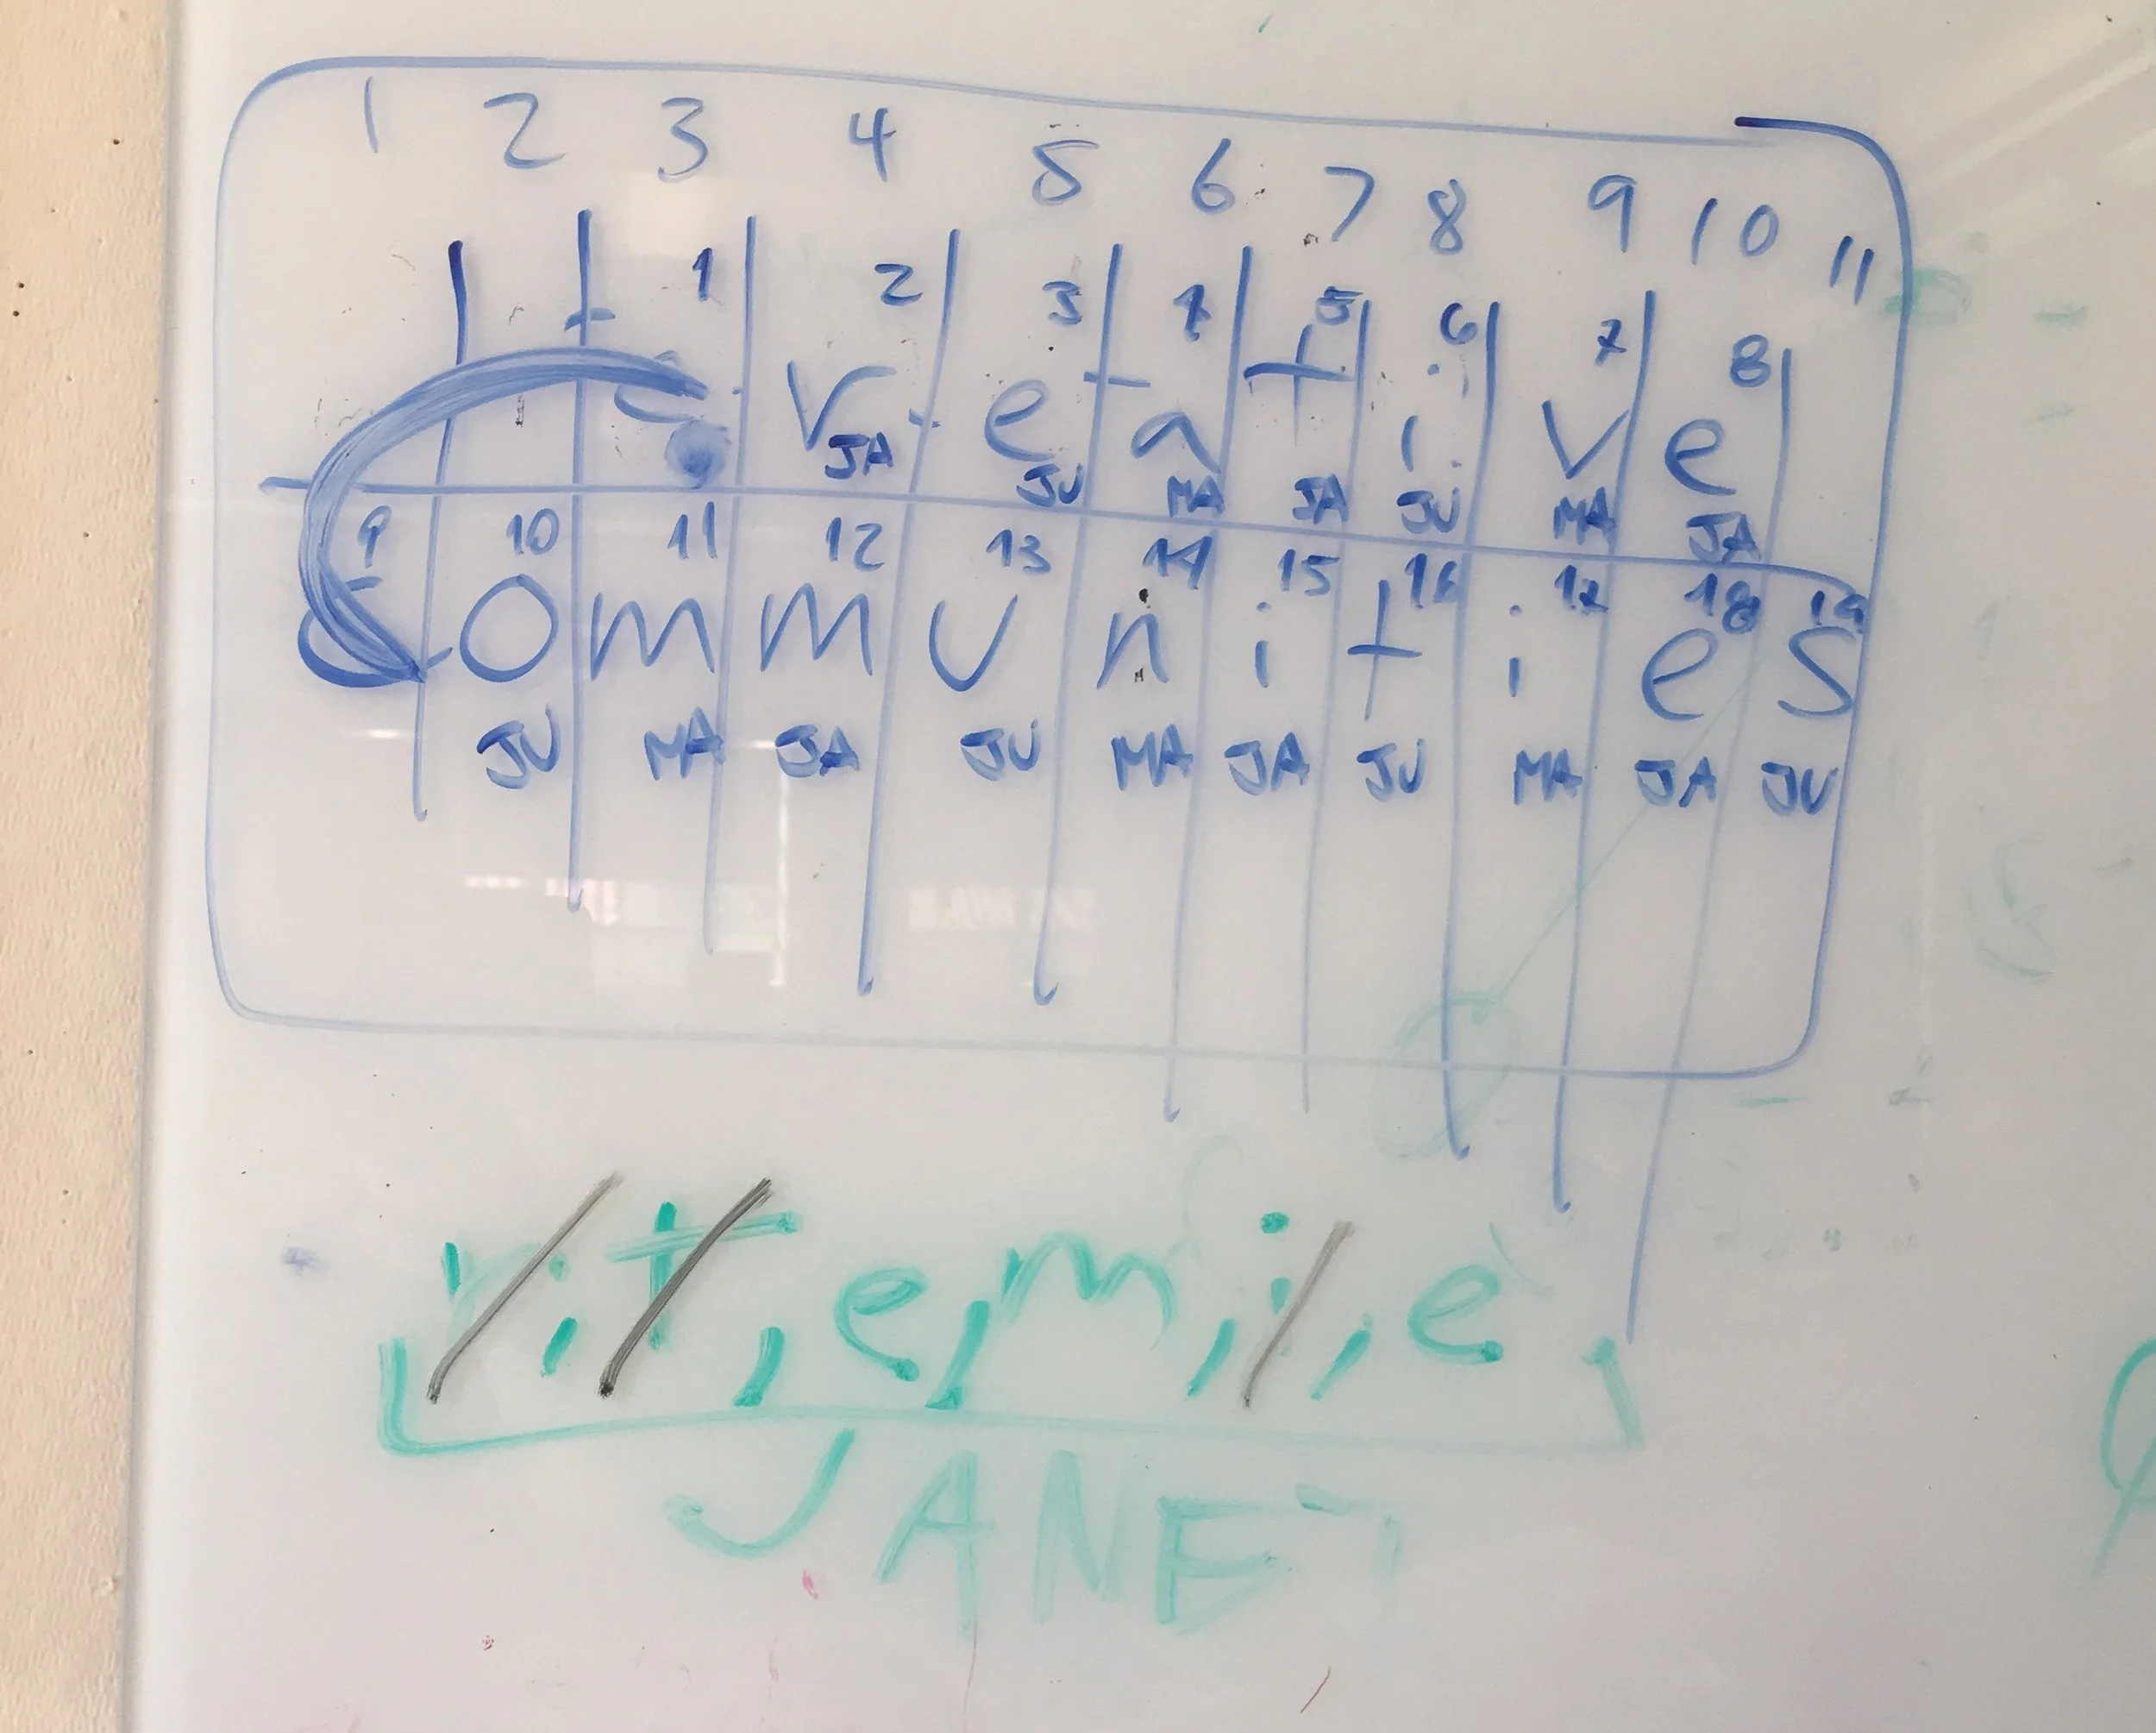
While some of us cut the cardboard pieces from the box and punching holes for the string, others measured the cardboard and plotted out how much space would be available for each letter on the whiteboard. This sparked the suggestion that we could make one big, square ‘C’ for both words to share and just put ‘reative’ and ‘ommunities’ on the long pieces. After agreeing on this, we delineated letter space on the cardboard and assigned each person a number of letters.
Sketching out our ideas gave us an easy reference for which letters we were working on and had left, and even sparked new ideas!
The plan
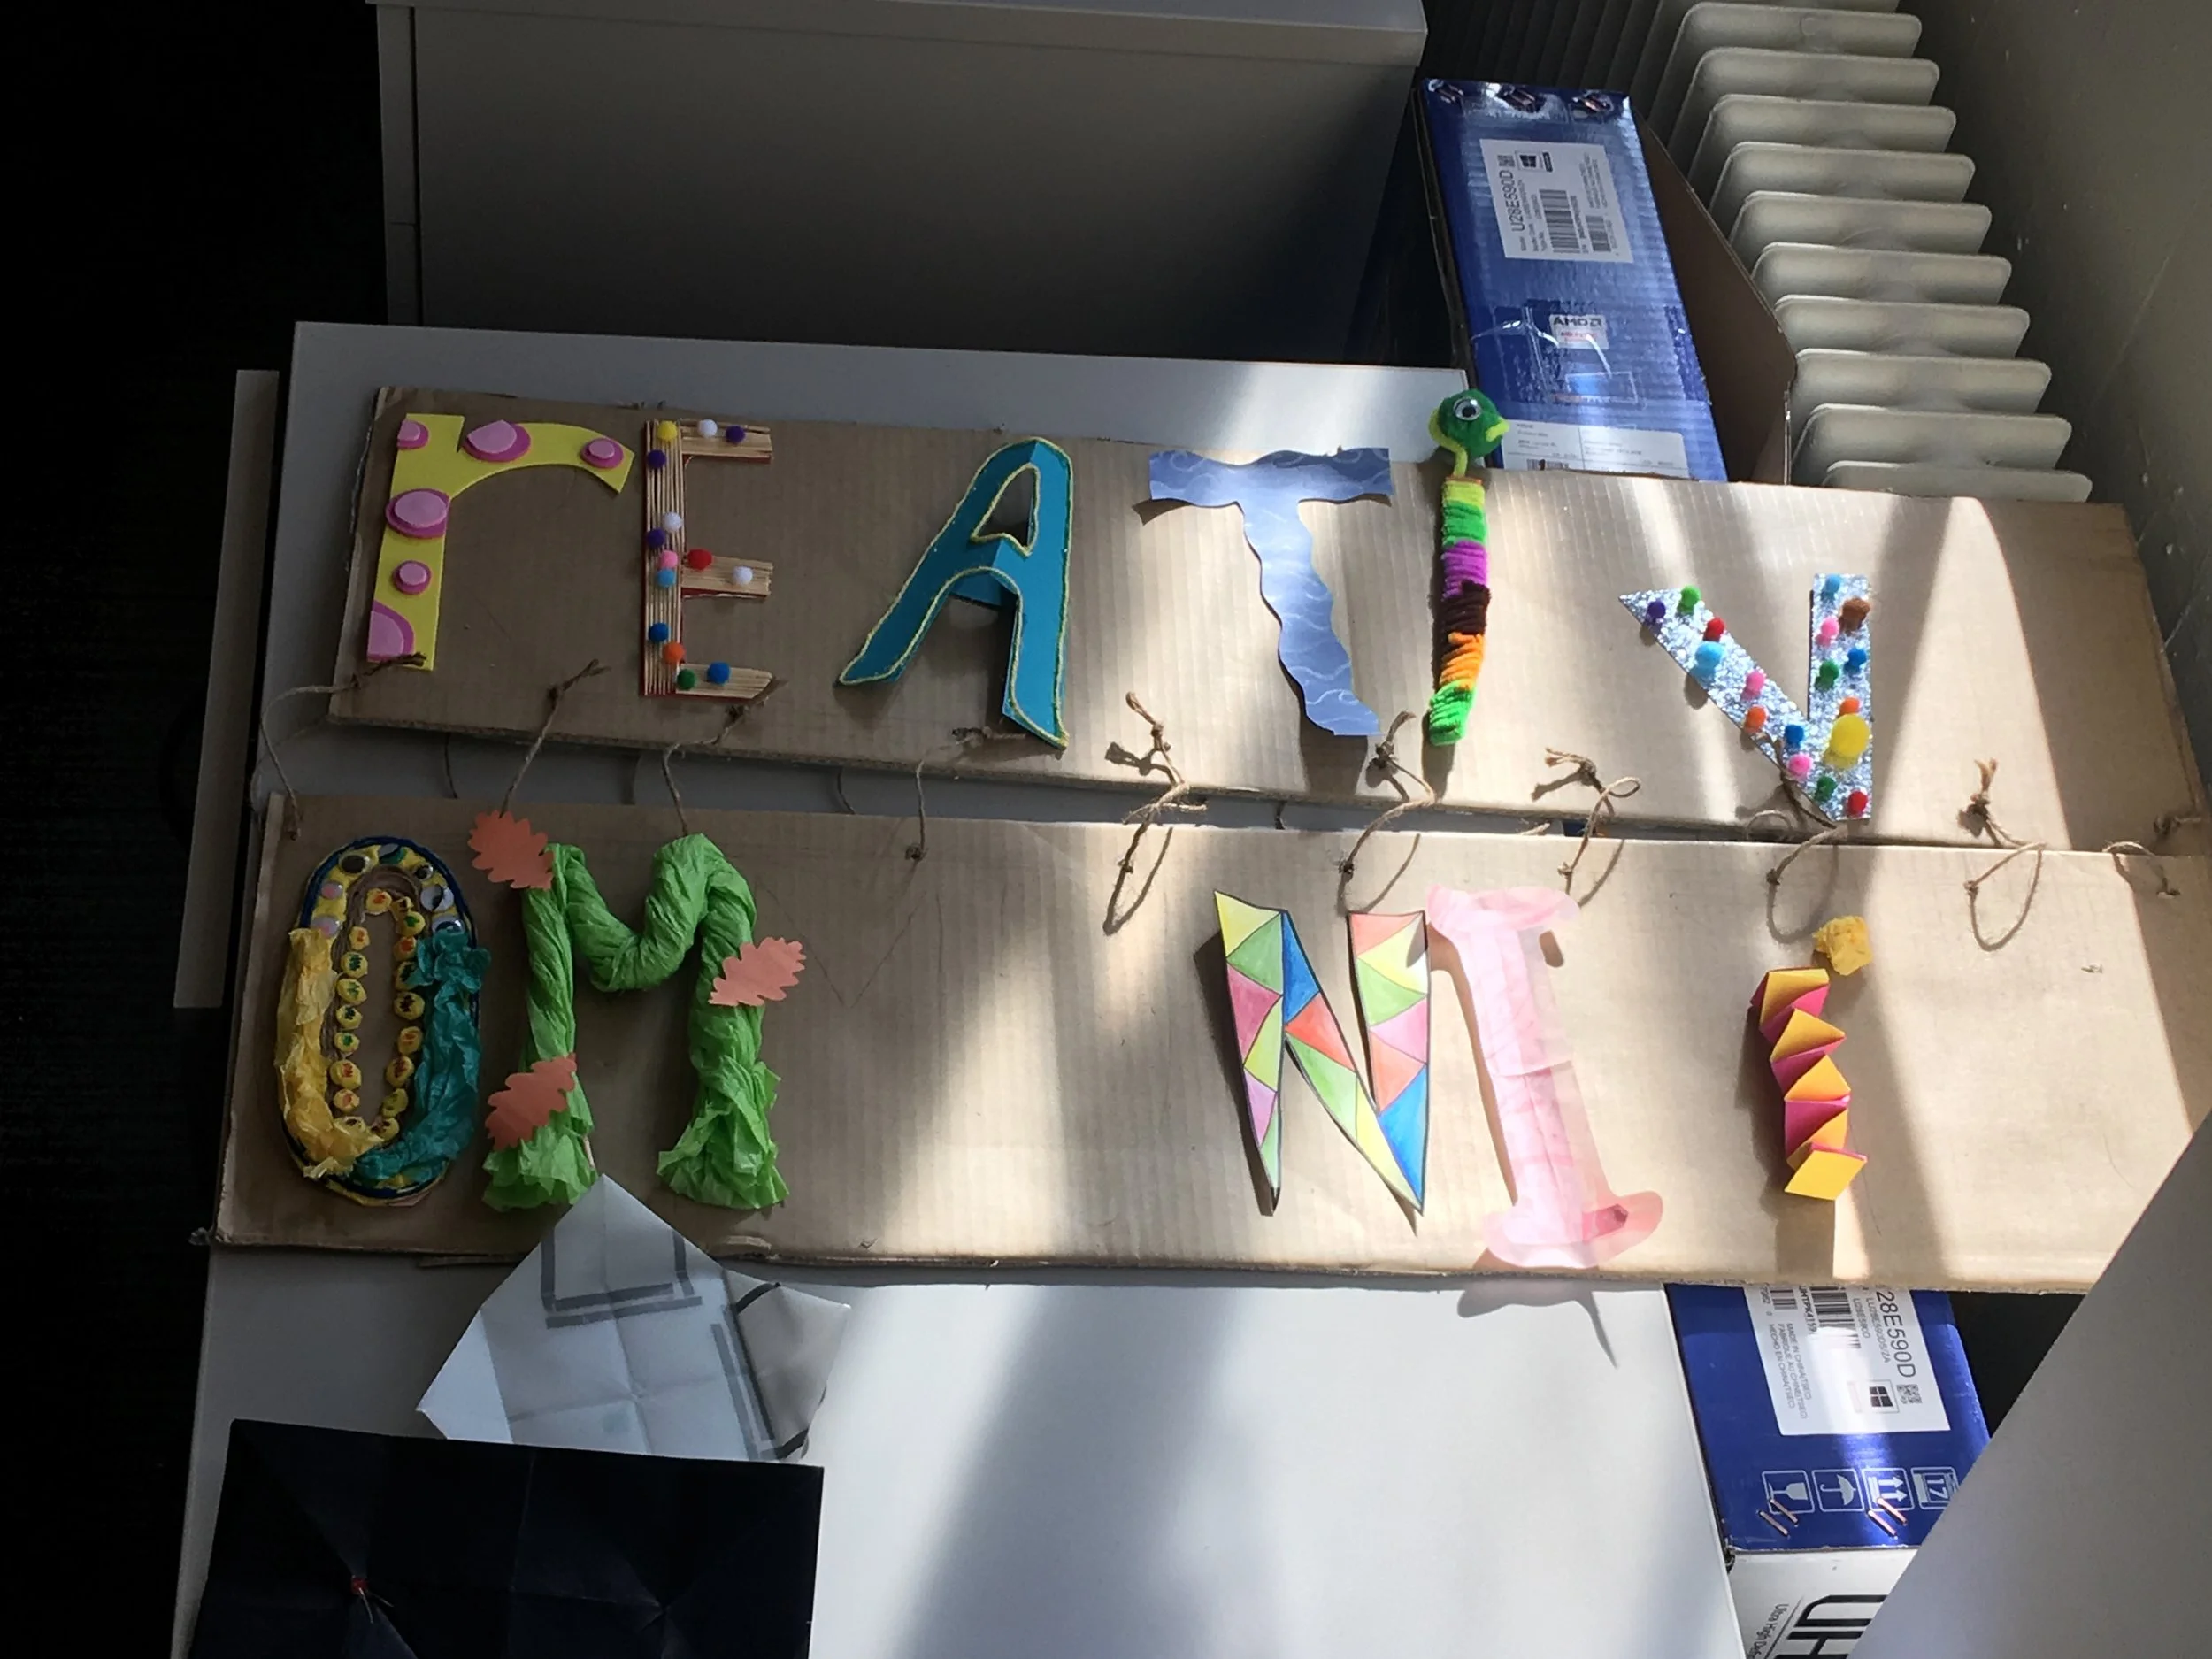
Then, we put on music and gave ourselves free rein with the available materials to make whatever letters we wanted. We were a little slow getting started, as we got to know the available materials. While working, we tried not to to make letters with the same materials or styles as other people’s, in order to showcase the diversity of artistic outputs we could produce. We also tried to enjoy the process and encourage one another rather than fixate on how the final product would look and critique one another. This allowed us to build on one another’s ideas. When one of us cut a symmetrical “A” by folding the paper in half, it led others to remark how it looked 3D, which inspired us to stack cardboard behind some of the other letters for an intentionally 3D effect. By the end of session 1, we had accomplished the major planning and made 11 letters between the three of us. We were very proud!
Sign-making session 1 results!
We met at 9AM the following morning to finish up the remaining six letters. We were much more familiar with the type and location of materials in the room, and worked quickly this time. By the end of session 2, we had used toothpicks, the Cricut machine, yarn, crayons, construction paper, foam, pom poms, play-dough, tissue paper, pipe cleaners, glitter, the hot glue gun, popsicle sticks, and clothespins.
Sign-making session 2 results!
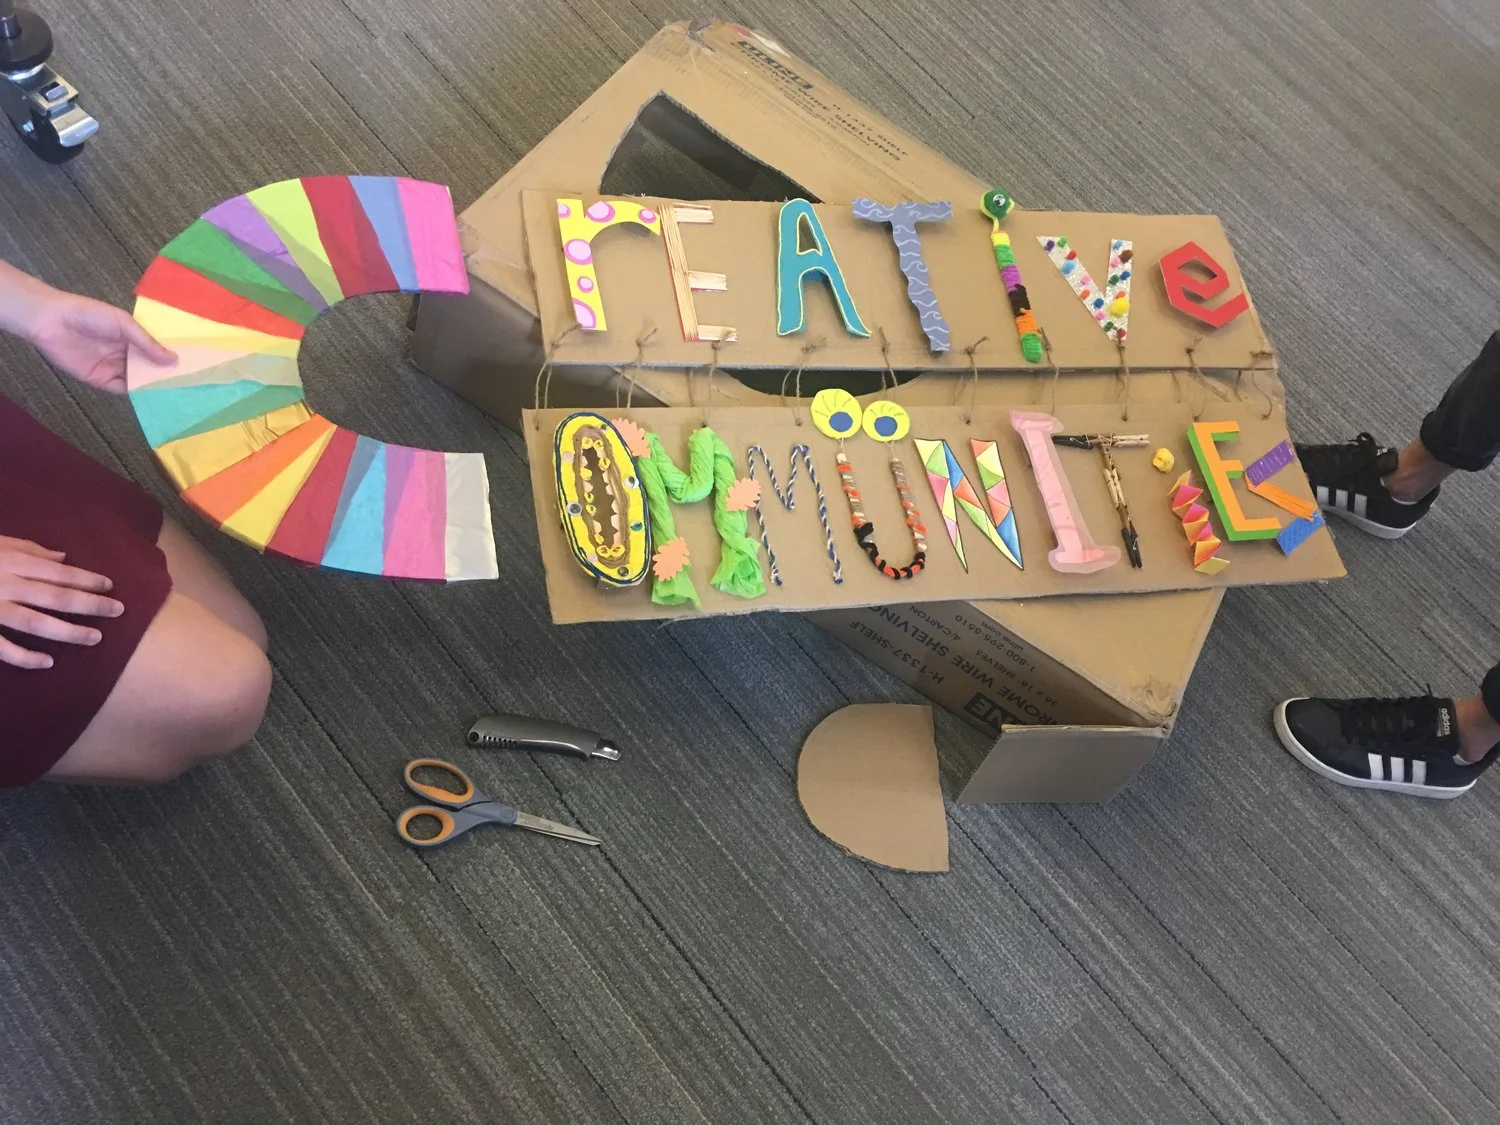
During our final sign-making session, we tackled the big “C.” If you think that by this last session, we would have a clear vision of what we were trying to accomplish...you would be mistaken. We had no idea how we were going to hang the C, what materials we were going to use, and the overall look of the final product. We were inspired by the rainbow of tissue paper colors we had on hand in the lab and decided to cut strips and layer them one on top of the other. After cutting and taping, we produced a beautiful, colorful “C!”
Our colorful C!
Lastly, we punched holes at the top of “C” and “reative,” strung the twine through it, and hung our creation from the back of our lab shelves.
Reflections
Almost immediately after hanging up our lab sign, we realized that our final product was pretty difficult to read, especially from a distance. This is a potential side effect of emphasizing process over product.
Another surprise was how much work it was to have fun. I had envisioned our sign-making as a time to relax and decompress with my labmates, but it was actually quite draining!
Material availability allowed us to execute almost any crazy ideas we had, like making a letter out of toothpicks. But material constraints, like the size of cardboard boxes available, were just as helpful in our creative process, forcing us to think on our feet.
We avoided planning as much as possible so we could focus on the creative process, but we found that planning ahead a little bit resulted in some interesting ideas that may not have emerged if we had done no planning at all.
The final product!


